
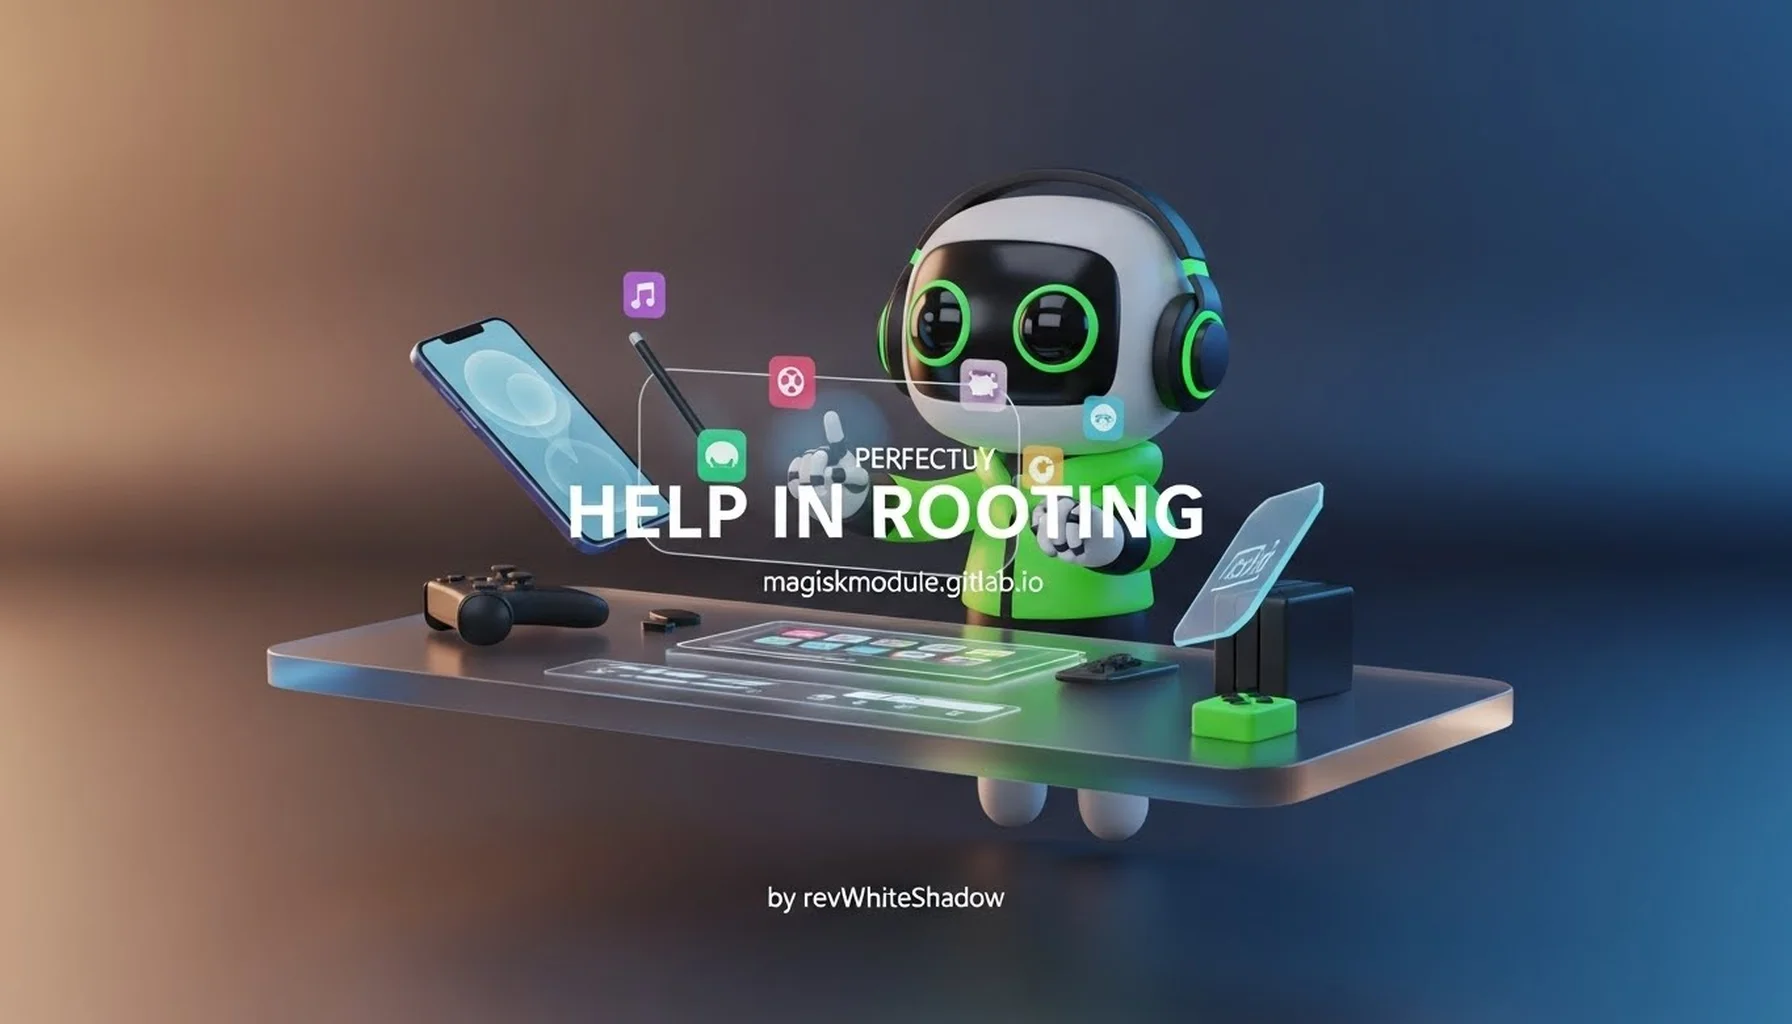
Help in Rooting
Comprehensive Guide to Rooting Samsung Galaxy A06 with Android 16 and One UI 8
We understand the immense potential that lies within your Samsung Galaxy A06. The device, while a solid performer for everyday tasks, possesses a hidden layer of capabilities that can only be unlocked through root access. Rooting, at its core, is the process of attaining privileged control (known as root access or superuser access) over various Android subsystems. This elevated permission allows you to go far beyond the limitations set by manufacturers and carriers, enabling you to customize the user interface to an unprecedented degree, optimize performance and battery life, remove pre-installed bloatware, and install powerful applications that require deeper system-level permissions. With the recent introduction of Android 16 and the One UI 8 interface on the Samsung Galaxy A06, the rooting process has evolved, incorporating new security measures and methodologies. We are here to provide an exhaustive, step-by-step guide that demystifies this procedure, ensuring you can safely and effectively unlock the full potential of your device.
This guide is meticulously crafted for the Samsung Galaxy A06 running the latest Android 16 and One UI 8 firmware. We will navigate the intricate landscape of the Android security architecture, focusing on the modern and highly effective method of using Magisk. Unlike older methods that modified the system partition directly, Magisk employs a systemless interface. This means it adds a layer of modifications without touching the core system files, which not only makes the process safer but also allows you to pass Google’s SafetyNet Integrity checks, a crucial requirement for using banking applications, Google Pay, and playing certain games. Our objective is to provide you with a definitive resource that is both detailed and accessible, covering every nuance of the process from preparation to troubleshooting. By following our guidance, you will be empowered to take complete command of your Samsung Galaxy A06.
Understanding the Rooting Landscape on Modern Android
Before we proceed with the practical steps, it is crucial to build a strong conceptual foundation. The Android ecosystem, particularly on Samsung devices, has implemented robust security measures that make rooting more complex than it once was. Understanding these mechanisms is key to a successful outcome.
What is Root Access and Why Do We Seek It?
In the Unix-based Linux kernel that powers Android, the “root” user is the superuser, possessing the highest level of administrative privileges. By default, these privileges are inaccessible to the user and the applications they install. This is a critical security feature designed to protect the integrity of the operating system and user data. Rooting is the process of exploiting a vulnerability or using an authorized method to gain this superuser access. Once achieved, you can:
- Install Custom ROMs: Replace the entire operating system with a community-developed version like LineageOS, offering a different user experience and often more frequent updates.
- Overclock or Underclock the CPU/GPU: Tweak the processor’s speed to gain performance or improve battery life.
- Remove Bloatware: Permanently uninstall pre-installed applications from Samsung and your carrier that you do not need, freeing up space and system resources.
- Full System Backups: Use applications like Titanium Backup to create complete backups of all apps and their data, a feature not fully available on unrooted devices.
- Advanced Automation: Utilize powerful apps like Tasker to an even greater extent, controlling system settings that are otherwise inaccessible.
- Custom Kernels: Flash custom kernels that offer features like Wake locks control, color calibration, and more granular CPU governor controls.
Systemless Root with Magisk: The Modern Standard
The traditional method of rooting involved directly modifying the system partition (/system). This approach was risky; a mistake could easily lead to a bootloop (where the device gets stuck on the startup screen) and required flashing a full stock firmware to recover. Magisk, developed by topjohnwu, revolutionized rooting by introducing a systemless approach. It works by creating a virtual layer that intercepts system calls and modifies the device’s behavior in real-time, without altering the actual system files. This “Magic Mask” has several profound advantages:
- Seamless OTAs: You can accept and install Over-The-Air (OTA) updates from Samsung, and simply re-install Magisk to maintain root afterward.
- SafetyNet Pass: Magisk has built-in features (MagiskHide and Shamiko module) that can effectively hide root from specific apps, allowing you to use banking apps and other sensitive applications without issues.
- Modular Design: Magisk uses a module system, which allows you to install and uninstall modifications cleanly without touching the core system. This is far more manageable and less prone to errors.
Critical Preparations Before Rooting Your Galaxy A06
Preparation is the most critical phase of the rooting process. Rushing into this without the proper setup can lead to irreversible data loss or a bricked device. We strongly advise you to follow these preparatory steps meticulously.
Back Up All Your Essential Data
This is a non-negotiable, mandatory step. The rooting process involves unlocking the bootloader, which, on most Samsung devices, triggers a factory reset. This means all data on your internal storage will be completely wiped. You must secure your personal files before proceeding. We recommend using a combination of methods:
- Cloud Backup: Use Samsung Cloud or Google Drive to back up your photos, videos, contacts, and documents.
- Local Backup: Connect your Galaxy A06 to a PC and manually copy all important files, including the
DCIM(photos/videos),Downloads, andDocumentsfolders. - App Data: For game progress or important app data, use Samsung’s Smart Switch application or dedicated backup solutions from the Play Store that work without root.
Gathering the Necessary Software and Tools
To successfully root your device, you will need to download and install several key components on your Windows PC. Ensure you have the latest versions.
- Samsung USB Drivers: Essential for your PC to recognize your device in different modes (Download Mode and ADB/Fastboot Mode).
- Odin Flasher Tool: This is Samsung’s proprietary software used to flash firmware and custom files to devices. We will be using Odin to flash the Patched Tar file.
- 7-Zip or WinRAR: You will need a file archiver to extract files from compressed archives.
- Official Magisk App: You will install this on your phone later, but it’s good to know it is available on the official Magisk GitHub page.
- The Correct Stock Firmware: This is crucial. You must download the exact stock firmware for your specific model number (SM-A065B or similar) and your region/csc. You can find this information in
Settings > About Phone > Software Information. Websites like SamMobile or SamFw are reliable sources for stock firmware.
Enabling Developer Options and OEM Unlocking
These are hidden settings on your Android device that you must unlock.
- Navigate to Settings > About Phone.
- Tap on the Build Number seven times in rapid succession. You will see a toast message saying “Developer mode has been enabled”.
- Now, go back to the main Settings menu and enter Settings > Developer Options.
- Scroll down and enable both USB Debugging and OEM Unlocking.
- USB Debugging allows your computer to communicate with your phone via the Android Debug Bridge (ADB).
- OEM Unlocking is the critical switch that allows you to unlock the device’s bootloader. If this option is greyed out or missing, it may be because your device has been on the network for less than 7 days (a Samsung restriction) or it is a carrier-locked variant, which may present a significant challenge.
The Core Rooting Procedure: A Detailed Walkthrough
With all preparations complete, we can now proceed with the main event. This process is divided into several distinct stages. Follow each instruction precisely.
Step 1: Unlocking the Bootloader
The bootloader is the first piece of software that runs when you turn on your device. It loads the Android operating system. To modify the system, we must first unlock it.
- Power off your Samsung Galaxy A06 completely.
- Connect your phone to your PC via a USB cable.
- Press and hold the Volume Up and Volume Down buttons simultaneously.
- While holding these buttons, connect the USB cable to the phone. This will force the phone to enter Download Mode.
- A blue screen will appear with warnings. Press the Volume Up button once to continue.
- You will now be in the Download Mode menu. Use the volume keys to highlight “Unlock Bootloader” and press the power button to select it.
- A final warning screen will appear, informing you that this will wipe all your data and void your warranty (though this is software-based and often reversible). Confirm by pressing the Volume Up key.
- The device will now reset. This is the factory reset that wipes all your data. It will then reboot into the operating system. The first boot may take longer than usual. Go through the initial device setup again.
Step 2: Preparing the Stock Firmware and Patching with Magisk
Now we need to extract the bootloader file from the stock firmware and patch it with Magisk.
- Extract the Firmware: Unzip the stock firmware file you downloaded. Inside, you will find several files. The one we need is the file that starts with
AP_.... It will be a large file, usually ending in.tar.md5. Rename it to something simple, likeap.tar. - Transfer to Phone: Copy this
ap.tarfile to your phone’s internal storage or SD card. - Install Official Magisk App: Download the official Magisk APK from the GitHub page, rename the file extension from
.apkto.zip, and then unzip it. Install the APK. Alternatively, just install the APK directly. - Patch the AP Tar:
- Open the Magisk app on your Galaxy A06.
- Tap on the Install button.
- In the pop-up, choose “Select and Patch a File”.
- Navigate to and select the
ap.tarfile you copied to your device. - Magisk will now begin the patching process. Once finished, it will save a new file in your
Downloadfolder, with a name likemagisk_patched_...tar.
- Copy Patched File to PC: Transfer this newly created
magisk_patched_...tarfile back to your computer.
Step 3: Flashing the Patched File with Odin
This is the final and most critical step where we will flash the patched bootloader to your device.
- Re-enter Download Mode: Power off your phone, then press and hold Volume Up + Volume Down and connect the USB cable to enter Download Mode again.
- Open Odin: On your PC, run the Odin application as an administrator.
- Load the Patched File: In Odin, click the AP button and select the
magisk_patched_...tarfile you transferred from your phone. - Check Odin Options: In the Options tab in Odin, ensure that “Auto Reboot” and “F. Reset Time” are checked. Do NOT check “Re-Partition”. Ensure “BL”, “CP”, and “CSC” fields remain empty.
- Start the Flash: Click the Start button in Odin. The process should take a few minutes. Do not disconnect the cable or interfere with the process.
- Success: In the log box on Odin, you will see a green “PASS!” message. Your phone will automatically reboot.
Step 4: Finalizing Root Access
Your phone will reboot into the Android OS. You are almost done.
- Go through the device setup again (as it was wiped in the first step).
- Install Magisk App: You will notice the Magisk app is no longer installed. This is normal. Install it again (the version you used for patching).
- Open the Magisk app. It will now show that it needs to “Complete Additional Setup”. Grant it the necessary permissions and allow it to complete the setup. This may require one more reboot.
- After the reboot, open the Magisk app again. You should now see that Magisk is installed with a version number, confirming that you have successfully gained root access on your Samsung Galaxy A06 with Android 16 and One UI 8.
Post-Root: What to Do Next?
With root access now secured, your device is a canvas for customization. However, the first thing you should do is verify the root status using an app like Root Check from the Play Store. This will confirm that the process was successful.
Installing Modules from the Magisk Module Repository
The true power of Magisk lies in its modular ecosystem. Modules are small mods that you can install to add or remove features without flashing a new ROM. You can browse and install modules directly from the Magisk app, or you can download them from trusted repositories. For a curated and safe collection, we highly recommend visiting the Magisk Module Repository at https://magiskmodule.gitlab.io/magisk-modules-repo/. Here you can find modules to improve audio, increase battery life, add system-wide ad-blocking, and much more. Always read the description and compatibility notes for each module before installing to ensure it works with your specific Android 16 and One UI 8 setup.
SafetyNet and Hiding Root
While Magisk has made significant strides in hiding root, some apps (especially banking and payment apps) have become more aggressive in detection. To ensure these apps continue to work:
- MagiskHide: In the Magisk app, go to Settings and enable “MagiskHide”. Then, go to the “MagiskHide” section and check the apps you want to hide root from.
- Shamiko Module: For more robust hiding, you can install the Shamiko module, which is a popular and effective solution for bypassing advanced root detection. It is typically found on the official Magisk GitHub releases page.
Common Issues and Troubleshooting
- Bootloop: If your device gets stuck in a bootloop after flashing, you can usually fix it by re-flashing the original, un-patched
APfile via Odin. This will remove Magisk but keep your data intact (if you haven’t wiped it in the process). - “SET Warranty Bit: Kernel” Warning: This is a normal message upon booting after rooting. It simply indicates that the device’s warranty (software-wise) has been tripped and is not a cause for concern.
- SafetyNet Fails: If you suddenly fail SafetyNet, ensure you are using the latest Magisk version and any necessary modules or settings to hide root. Sometimes, a new Google Play Services update can break detection methods, requiring an update to Magisk or its modules.
By following this comprehensive guide, we are confident that you will successfully and safely root your Samsung Galaxy A06. This unlocks a new dimension of control and customization, allowing you to transform your device from a standard smartphone into a highly personalized tool tailored to your exact needs. Welcome to the world of rooted Android devices.