
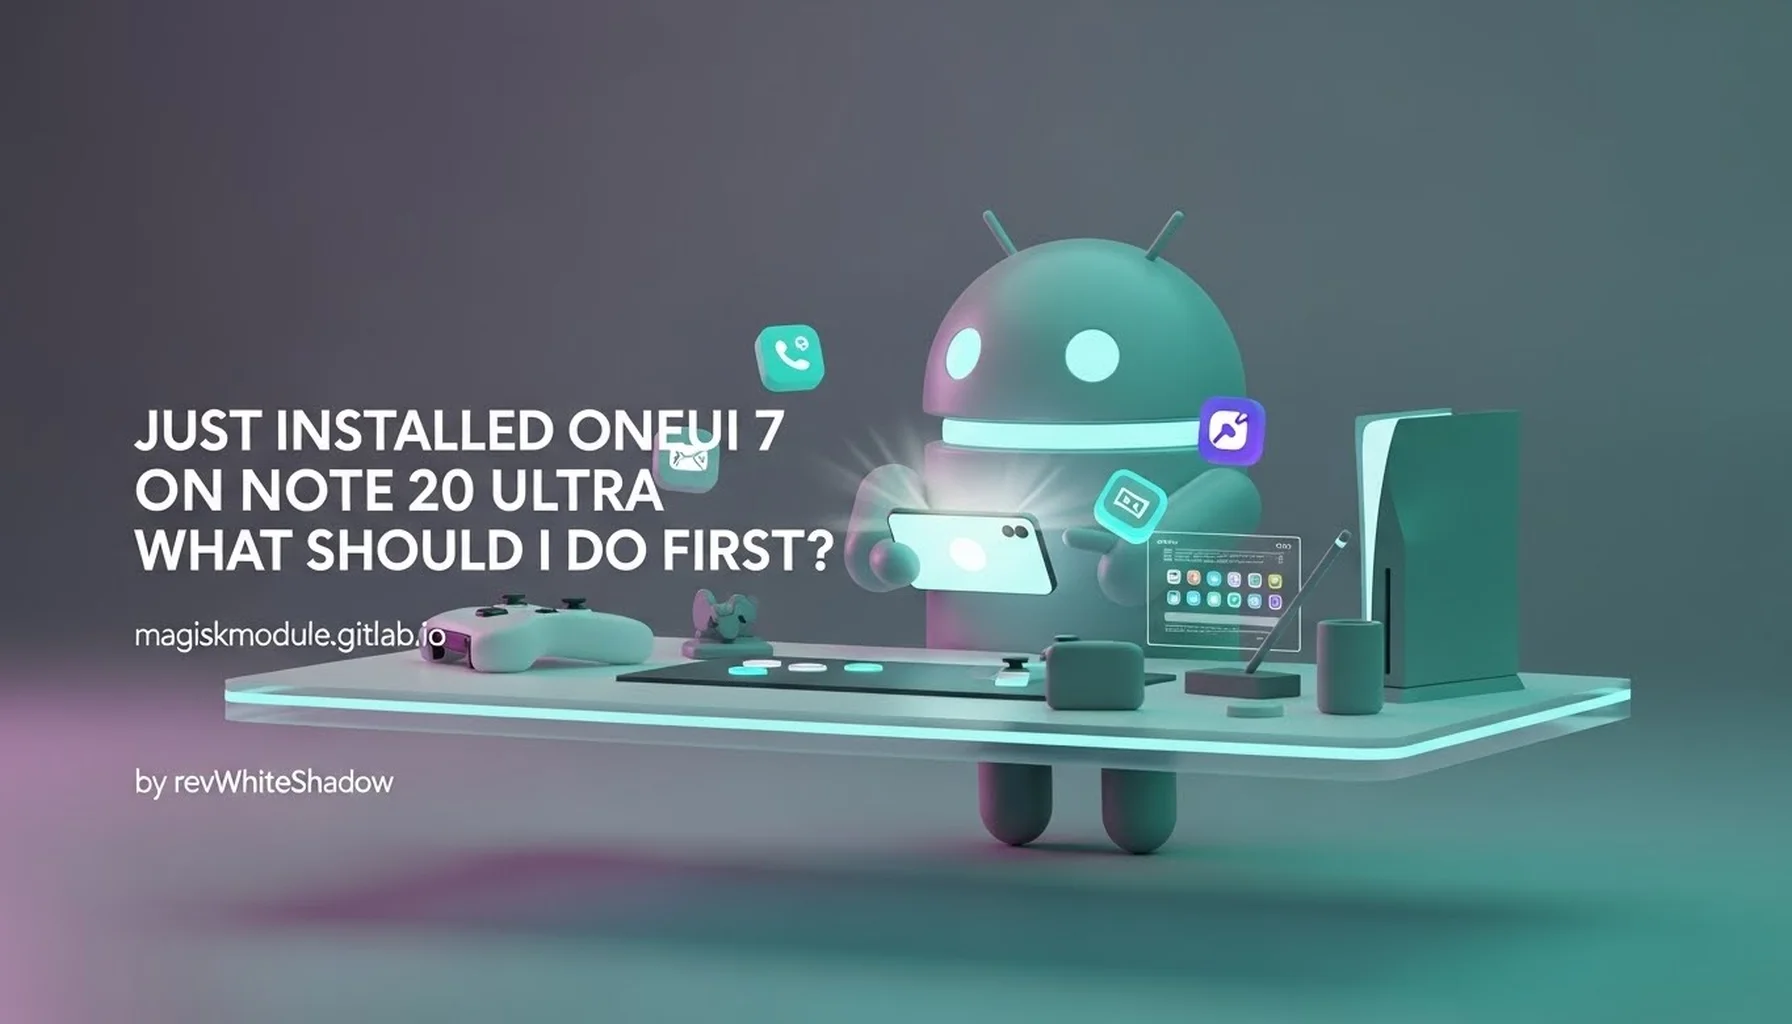
Just Installed OneUI 7 on Note 20 Ultra, What Should I Do First?
Navigating the Major System Overhaul
Congratulations on successfully installing OneUI 7 on your Samsung Galaxy Note 20 Ultra. This is a monumental update, representing a significant leap forward in Samsung’s custom Android skin. With any major operating system upgrade, particularly one that alters the visual language and core functionality as profoundly as OneUI 7, the initial moments can be both exciting and overwhelming. The user interface has been completely redesigned, performance architectures have been optimized, and a suite of new features has been introduced. Our objective is to guide you through a systematic process to configure your device, optimize its performance, and reclaim your productivity flow. We will dissect the essential first steps, from visual customization and battery management to advanced performance tuning and leveraging the full potential of the S Pen.
This guide is meticulously crafted for the power user who wants to extract every ounce of performance and utility from their flagship device. We will cover the critical settings that are often overlooked, ensuring your Note 20 Ultra runs smoother, lasts longer, and looks exactly how you want it to. Do not simply tap through the setup screens; follow this comprehensive checklist to truly master your updated device.
Initial System Optimization and Data Management
The first moments after a major update are crucial for establishing a stable and efficient baseline. Before diving into aesthetic customizations, we must ensure the underlying system is optimized for your usage patterns. This involves managing background processes, securing your data, and ensuring your files are accessible.
Review and Manage Background Processes
A new OS version can reset or alter background usage restrictions. Navigate to Settings > Battery and device care. This hub is your command center for system health. We recommend tapping on Battery and then Background usage limits. Here, you will find a list of apps that are never sleeping and apps that are sleeping. Scrutinize this list. Any app that does not require constant background refresh (like social media or news apps) should be placed in the Deep sleeping apps list. This prevents them from draining your battery when you are not actively using them. For apps you need to receive notifications from instantly, keep them in the Sleeping apps list or exclude them entirely. This simple step can yield significant battery life improvements.
Update All Your Applications
The OneUI 7 update is built on a new Android foundation, which may necessitate updates for your applications to ensure full compatibility and access to new features. Open the Galaxy Store and tap the Menu icon, then select Updates. Install every pending update. Next, open the Google Play Store, tap your profile icon, and select Manage apps & device. Under Updates available, update all your applications. This process ensures that your apps are optimized for the new graphical elements, notification system, and background task management of OneUI 7.
Re-scan and Optimize Your Media Files
After a system update, the media database can sometimes become corrupted or require re-indexing. This can lead to issues with the Gallery app, music players, and social media uploads. We advise forcing a media scan. While this often happens automatically, you can expedite the process. The easiest method is to restart your device once after all app updates are complete. For a more thorough approach, open the My Files app, navigate to a folder containing images or videos, and open a few files. This signals the system to re-index the media. Ensure your Samsung Cloud and Google Photos backup settings are configured to your preference under Settings > Accounts and backup. This is your safeguard against data loss.
Mastering the New OneUI 7 Visual Interface
The most immediate change you will notice is the complete visual redesign. OneUI 7 introduces the Now Bar and a host of new customization options. Reclaiming your personalized look is key to feeling at home on your device again.
Customize the Now Bar and Lock Screen
The Now Bar is a dynamic, interactive pill-shaped notification area on the lock screen. To customize it, long-press the lock screen and tap AOD and Style. You can change the Now Bar’s color, font, and the information it displays. More importantly, go to Settings > Notifications > Now Bar. Here, you can select which apps are allowed to display information on the lock screen. We recommend keeping only the most critical apps here, such as your music player, stopwatch, or maps, to prevent it from becoming cluttered. You can also configure the Now Bar to show live activities, providing at-a-glance updates without fully unlocking your phone.
Revamp Your Quick Panel and Notifications
OneUI 7 separates the Quick Panel (for toggles) and the Notification Panel. Swipe down from the top-right corner of the screen to access the Quick Panel. You can now fully customize this area. Tap the Pencil icon at the top. From here, you can:
- Add or remove toggles (like Power Saving, Flight Mode, Flashlight).
- Change the layout and reorder the toggles to your liking.
- Add interactive widgets for apps like Timer, Calendar, or Reminder directly into the Quick Panel.
We suggest prioritizing the toggles you use daily for maximum efficiency. For notifications, swipe down from the top-left or middle of the screen to access the dedicated notification shade. This separation makes interacting with alerts much cleaner than the combined panel of previous versions.
Fine-tune the Notification Shades and App Icons
The new Dynamic Island-style notifications (referred to as Now Bar and Live Notifications) are a core feature. To manage them, go to Settings > Notifications > Advanced notification settings. You can control which apps can create these interactive notifications. For a cleaner look, you might want to disable this for non-essential apps. Furthermore, you can now apply a Theme to your app icons. Long-press on the home screen, tap Themes, and select Icons. OneUI 7 offers new adaptive icon shapes and palettes that integrate with your wallpaper. Explore these options to create a cohesive visual theme.
Explore the New Multi-Window and Taskbar
Multitasking on the Note 20 Ultra is legendary, and OneUI 7 enhances it. The Edge Panel is now more intuitive. To activate it, go to Settings > Display > Edge Panel. We recommend customizing the apps and tools within the Edge Panel. For a PC-like experience, connect your device to an external monitor using a USB-C to HDMI adapter. A new DeX style taskbar will appear at the bottom, allowing for instant app switching and quick access to your favorite applications. This is a game-changer for mobile productivity.
Deep Dive into Battery Life and Performance Management
The Note 20 Ultra is a powerful device, but OneUI 7’s new features can impact battery life if not managed correctly. We will walk through the essential settings to ensure you get through a full day without anxiety.
Optimize the New Battery Protection Features
Navigate to Settings > Battery > Battery protection. You will find three modes:
- Basic: Charges to 100% with no delays.
- Adaptive: Learns your daily charging routine and delays charging past 80% to match your wake-up time. This is the best option for most users.
- Maximum: Stops charging at 85% to preserve long-term battery health.
We strongly recommend using the Adaptive mode. It provides the best balance between daily usable capacity and long-term battery preservation. If you are a heavy user, consider switching to Maximum and charging more frequently.
Utilize the Enhanced “Light” Performance Mode
For years, Samsung has offered a performance profile setting. In OneUI 7, this is more accessible and refined. Go to Settings > Battery and device care > Performance mode. You will see two options:
- Prioritize performance: Unleashes the full power of the Snapdragon 865+ chipset. Use this for gaming, video editing, or intensive tasks.
- Prioritize battery life: This is the new Light performance mode. It caps the CPU and GPU slightly in exchange for significantly better battery life and cooler operation.
We suggest keeping your device on Prioritize battery life for daily tasks like browsing, email, and social media. The performance difference is negligible for these tasks, but the battery gain is substantial.
Automate Your Life with Modes and Routines
This is arguably the most powerful tool in OneUI 7, yet it remains underutilized. Find it in Settings > Modes and Routines. This is an evolution of Bixby Routines and is now deeply integrated into the OS. You can create triggers and actions for almost anything. We have found the following routines to be indispensable:
- Work Mode: Activated when you arrive at your office. It automatically turns on Wi-Fi, sets your notification volume to medium, and opens Outlook and Teams.
- Sleep Mode: Activated based on your bedtime schedule. It enables Dark Mode, Eye Comfort Shield, mutes notifications (except for starred contacts), and enables Always On Display.
- Driving Mode: Activates when you connect to your car’s Bluetooth. It automatically launches Google Maps or Spotify and enables Bixby Text Call to handle calls for you.
Investing 15 minutes to set up these routines will revolutionize your interaction with your phone, automating tedious tasks and enhancing your daily flow.
Leveraging the S Pen and Productivity Features
The S Pen is the defining feature of the Note series. OneUI 7 introduces new ways to interact with it, focusing on AI-powered tools and cross-device connectivity.
Master Air Actions and AI Features
Go to Settings > Advanced features > S Pen > Air actions. Here, you can customize the gestures you make with the S Pen when it is detached from the phone. The default settings are a good start, but we recommend personalizing them. For example, set the “S Pen hold + Swipe up” gesture to open the camera. Furthermore, explore the new AI-powered features. The Sketch to Image tool in the Samsung Notes app is phenomenal. You can draw a simple shape, and the AI will generate a polished image. The Object Eraser in the Gallery has also been improved and is now part of a more powerful Editor suite. Get familiar with these tools to unlock the creative potential of your device.
Configure Smart Select and Screen Write
The Smart Select edge panel is a productivity powerhouse. Activate the Edge Panel and ensure Smart Select is included. With the S Pen, you can now extract text from images, create animated GIFs from any video, and pin an area of the screen to stay on top. A new feature in OneUI 7 is the ability to instantly pin a portion of a screen capture for a quick reference. This is perfect for keeping a flight confirmation number or a recipe visible while you work in another app.
Sync with Windows and Tab S9
If you own a Samsung tablet, such as the Galaxy Tab S9, or a Windows PC, the integration has been supercharged. The Link to Windows feature is now more stable and offers more control. On your PC, you can now use your phone’s apps directly in a window, drag and drop files seamlessly, and even use your phone’s camera as a high-quality webcam. For Samsung tablet users, the new Multi Control allows you to use your Note 20 Ultra’s keyboard and trackpad to control the tablet, and seamlessly share content between them. Go to Settings > Connected devices > Link to Windows or Multi control to set this up.
Advanced Customization with Magisk Modules
For the true power user who wants to push the boundaries of OneUI 7, the journey does not end with the default settings. Rooting your Note 20 Ultra with Magisk opens a door to a world of system-level customization that can enhance performance, privacy, and aesthetics beyond what Samsung provides.
Enhancing OneUI 7 Performance and Battery
After installing Magisk, you can significantly amplify the performance tweaks we discussed earlier. While the built-in “Light” mode is good, Magisk modules can provide a more granular and aggressive control over CPU/GPU governors and thermal limits, allowing for sustained peak performance without thermal throttling, or ultra-deep sleep for maximum battery savings. Modules like LKT or custom kernels found on our repository can fine-tune the device’s voltage and I/O schedulers for a snappier, more responsive feel than any stock setting can achieve. We have observed reductions in frame drops in demanding games and smoother scrolling throughout the UI after applying the right performance-focused modules.
System-Level UI and Functional Mods
The customization potential with Magisk is virtually limitless. You can install modules that remap the Bixby button to launch any app or action of your choice, completely overhauling the device’s physical interaction model. Modules are available to enable features that may be region-locked or not yet enabled in your specific firmware version. For users who value privacy, you can install modules that systematically block tracking and telemetry at the root level, a far more effective method than any app-based firewall. On our repository, you will find a curated list of modules compatible with the latest OneUI versions, ensuring you can safely enhance your device without compromising stability.
Finding and Installing Safe Modules
Safety and compatibility are paramount. Before installing any Magisk module, it is essential to check its compatibility with your specific device model and, crucially, your OneUI version. Our repository at Magisk Modules is designed to address this. We provide detailed descriptions, version compatibility information, and user feedback for each module. Always read the module description carefully and follow the installation instructions precisely. The process typically involves:
- Opening the Magisk app.
- Tapping the Modules tab.
- Selecting Install from storage.
- Navigating to the downloaded
.zipmodule file. - Rebooting your device after installation.
You can browse and download a wide variety of performance, visual, and utility modules directly from our Magisk Module Repository, ensuring you have a trusted source for all your customization needs.
Frequently Asked Questions (FAQ)
Q1: My battery life seems worse after the OneUI 7 update. What can I do? This is common after a major update as the system re-indexes files and learns your usage patterns. It typically stabilizes within 48 hours. To accelerate this, ensure you have applied the battery optimization steps we outlined above, particularly enabling Adaptive or Maximum battery protection and using Modes and Routines to restrict background activity. A factory reset is a last resort but can solve persistent battery drain if it is caused by corrupted data from the previous OS version.
Q2: The new Quick Panel is confusing. Can I get the old one back? No, the split Quick Panel and Notification Shade is a core design change in OneUI 7 and cannot be reverted to the old combined style. However, you can customize the new Quick Panel extensively to make it more intuitive for your needs. We recommend spending time in the Edit menu of the Quick Panel to arrange the toggles and widgets in a way that mirrors your previous workflow.
Q3: Are all my old S Pen features still available? Yes, all core S Pen features are still present. Air Command is now integrated more seamlessly, and some features have been renamed or enhanced with AI. We recommend re-mapping your Air Actions in Settings > Advanced features > S Pen > Air actions to ensure they align with your muscle memory. The core functionality of screen-off memos, screen write, and smart select remains unchanged.
Q4: Is rooting with Magisk safe for my Note 20 Ultra now? Rooting always carries inherent risks, including voiding your warranty and potentially bricking your device if done incorrectly. However, for experienced users, rooting with Magisk is a well-established process. It is crucial to use the correct firmware files for your specific model (e.g., N986B, N986U) and to have a backup of your data. Our repository provides modules that are tested by the community, which helps mitigate some of the risks associated with system modification. Always proceed with caution and ensure you understand the process fully.