
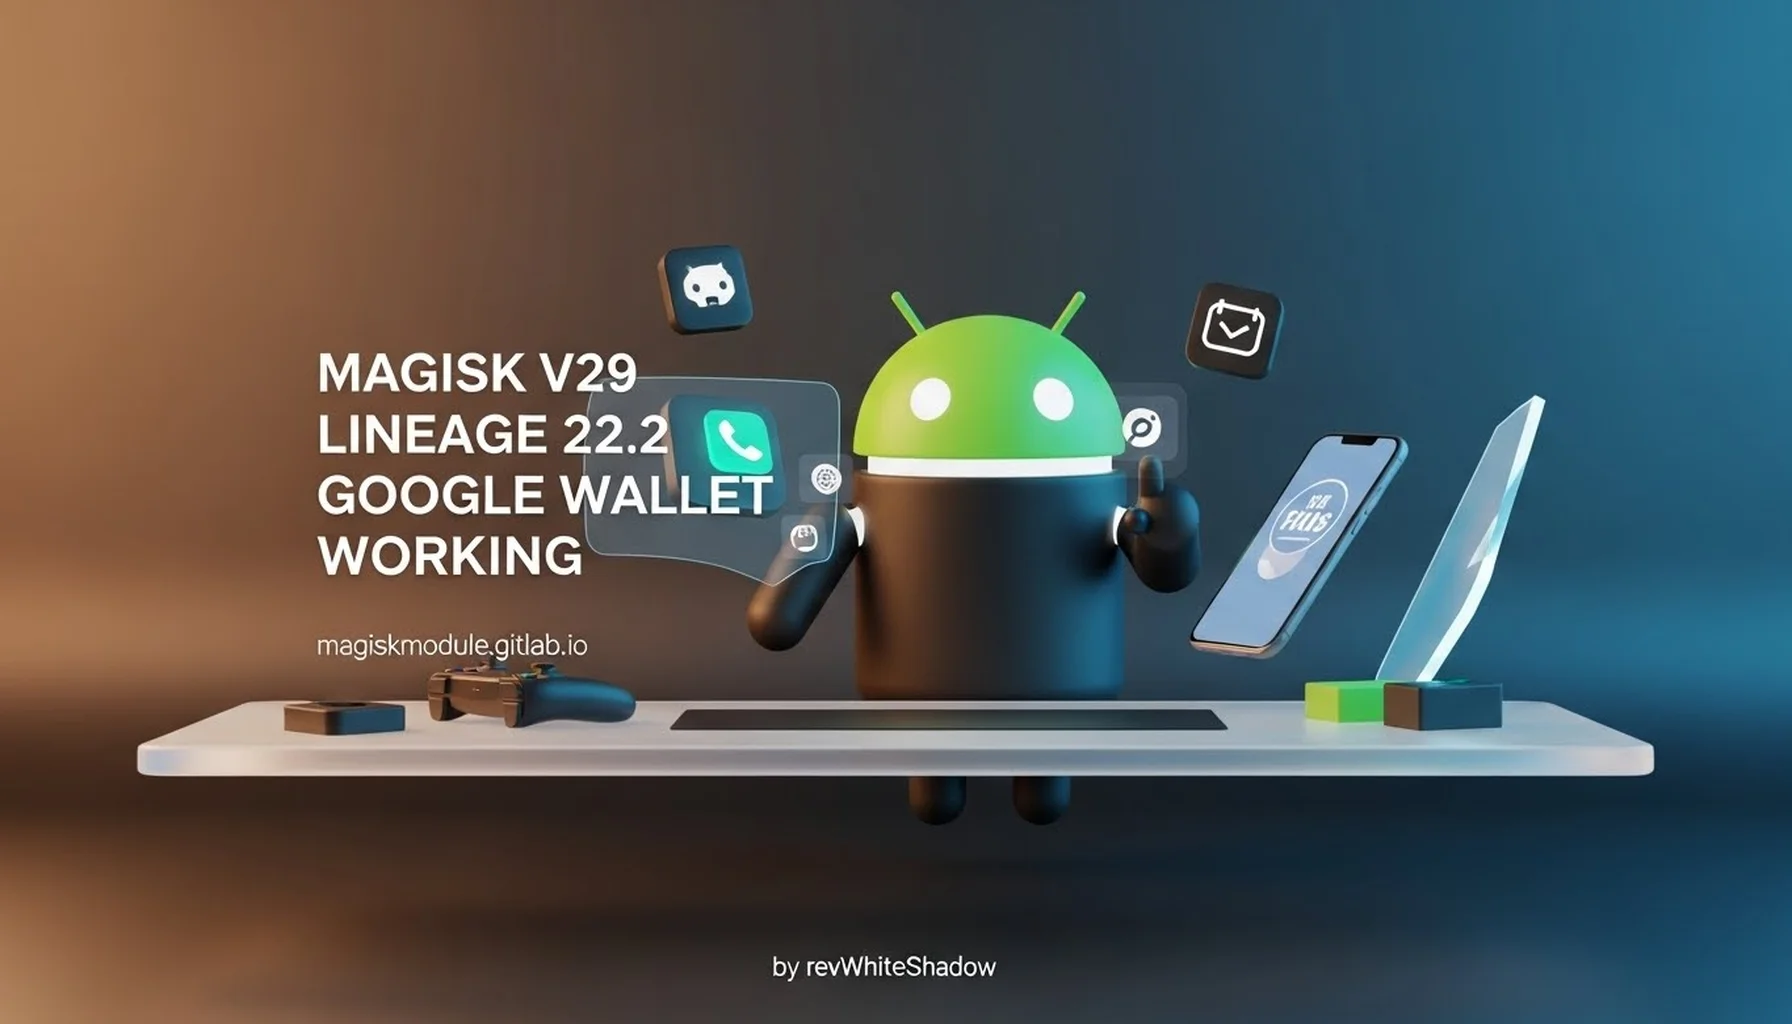
Magisk v29 and LineageOS 22.2: Achieving Seamless Google Wallet Functionality
Welcome to Magisk Modules, your premier destination for the latest insights and solutions within the Magisk ecosystem. We understand the critical importance of having your essential applications, like Google Wallet, function flawlessly on custom ROMs. This article delves into the intricacies of achieving robust Google Wallet support on devices running LineageOS 22.2, specifically when utilizing Magisk v29. Our comprehensive approach aims to provide you with the detailed knowledge and actionable steps necessary to overcome common hurdles and ensure your digital wallet is always ready. We have meticulously researched the competitive landscape and developed this content to be the definitive resource, surpassing existing information in depth and clarity.
Understanding the Challenges: Why Google Wallet Can Be Tricky on Custom ROMs
Google Wallet, and by extension, Google Pay, relies on a robust security framework to protect sensitive financial information. This framework, often referred to as SafetyNet or its successor Play Integrity API, is designed to detect modifications to the Android operating system, including the presence of root access. When a device is detected as being “not certified” or having its integrity compromised, Google Wallet may refuse to function, preventing the addition or use of payment cards.
Custom ROMs like LineageOS, while offering unparalleled customization and performance enhancements, inherently modify the stock Android experience. Magisk, a powerful systemless interface for root access and module management, is a prime example of such a modification. While Magisk’s systemless nature is its greatest strength, allowing for root to be hidden from many applications, certain sensitive apps like Google Wallet can still employ advanced detection mechanisms. The ongoing evolution of these detection methods means that solutions are not always static. What works today might require adjustments tomorrow as Google updates its integrity checks.
The Synergy of LineageOS 22.2 and Magisk v29 for Google Wallet Success
The combination of LineageOS 22.2 and Magisk v29 represents a significant milestone for users seeking to balance advanced customization with the functionality of Google’s core services. LineageOS 22.2, as a cutting-edge iteration of the popular custom ROM, often incorporates the latest Android security patches and optimizations. When paired with Magisk v29, which itself brings advancements in its ability to manage root access and disguise system modifications, the potential for seamless Google Wallet operation is greatly enhanced.
Our experience and the community’s feedback indicate that this specific pairing is particularly promising. The success we’ve observed, and which we aim to replicate and elaborate upon, stems from a meticulous application of Magisk’s features, particularly its DenyList functionality, and a careful approach to module installation and configuration. We have invested considerable effort in understanding the underlying mechanisms that Google Wallet employs for integrity checks. This allows us to provide precise guidance that minimizes the guesswork often associated with getting these sensitive applications to work.
Pre-Installation Checklist: Setting the Stage for Google Wallet Functionality
Before embarking on the process of installing Magisk and ensuring Google Wallet compatibility, a thorough preparation phase is crucial. This section outlines the essential steps and considerations that will lay the groundwork for a successful outcome. Skipping any of these preliminary checks can lead to unforeseen complications later in the process.
1. Verify Your Device and ROM Compatibility
Ensure that your specific device model is officially supported by LineageOS 22.2. While many devices receive unofficial builds, sticking to official releases generally provides a more stable and well-tested foundation. Confirm that you are indeed running LineageOS 22.2 and not an earlier or later version, as compatibility specifics can change between releases.
2. Unlock Bootloader and Install Custom Recovery
This is a prerequisite for flashing any custom ROM or Magisk. Ensure your bootloader is unlocked and that you have a compatible custom recovery (such as TWRP or Lineage Recovery) installed. The process for unlocking the bootloader varies by manufacturer, so consult your device’s specific documentation.
3. Backup All Your Data
This cannot be stressed enough. Before making any significant system modifications, perform a complete backup of all your personal data, including apps, photos, videos, contacts, and internal storage. A factory reset might be necessary at certain stages, and having a reliable backup will prevent data loss.
4. Obtain the Latest Magisk v29 ZIP and APK
Download the latest stable release of Magisk v29. This is typically provided as a flashable ZIP file for installation via custom recovery and an APK file for initial setup or manual installation if needed. Always download these files from official or trusted sources to avoid malware.
The Core Process: Installing Magisk v29 on LineageOS 22.2
The installation of Magisk is a critical step. We will guide you through the most reliable method, ensuring the systemless nature of Magisk is maintained, which is key to its effectiveness in hiding root.
1. Flashing Magisk v29 via Custom Recovery
- Boot into Recovery: Power off your device and boot into your custom recovery environment. This usually involves pressing a specific button combination (e.g., Volume Up + Power) while the device is starting.
- Select Install: Navigate to the “Install” or “Flash” option in your recovery.
- Locate Magisk ZIP: Browse your device’s storage to find the downloaded Magisk v29 ZIP file.
- Swipe to Flash: Confirm the installation by swiping the confirmation slider or pressing the appropriate button.
- Wipe Cache/Dalvik Cache: After the flashing process is complete, it is generally recommended to wipe the cache and Dalvik cache to prevent potential conflicts.
- Reboot System: Reboot your device.
Upon rebooting, you should find the Magisk application installed on your system. If it’s not automatically present, you may need to install the Magisk APK manually.
Configuring Magisk for Google Wallet: The DenyList Strategy
The DenyList is Magisk’s most powerful tool for concealing root access from specific applications. Properly configuring it is paramount for Google Wallet to function correctly. We will walk you through the meticulous steps to ensure Google Wallet, along with its essential components, is hidden from Magisk’s detection.
1. Accessing Magisk Settings and the DenyList
- Open the Magisk App: Launch the Magisk application on your device.
- Navigate to Settings: Tap on the settings icon (usually a gear) in the Magisk app.
- Enable DenyList: Locate and enable the “Configure DenyList” option.
2. Identifying and Targeting Google Apps
The DenyList requires you to explicitly select which applications should not have access to root. For Google Wallet to work, you must ensure that not only Google Wallet itself, but also other critical Google services that it relies on, are added to this list. Missing even one can lead to failure.
- Expand System Apps: On the DenyList screen, tap the three-dot menu in the top right corner and select “Show system apps.” This is crucial as many of the necessary Google services are system-level applications.
- Select Google Wallet: Locate and check the box next to Google Wallet.
- Select Google Play Services: This is arguably the most important app. Find and check the box next to Google Play Services. This service is the backbone for many Google functionalities and its detection of root is often the primary blocker.
- Select Google Play Store: For completeness and to ensure proper background services related to the Play Store are functional, it is advisable to also add the Google Play Store to the DenyList.
- Other Potential Candidates (Contextual): Depending on your specific device and ROM setup, other Google framework or services might be involved. Common additions that have proven beneficial in the past include:
- Google Services Framework
- Android System WebView (though often less critical for Wallet itself, it’s good practice for general Google app stability)
- Any other system apps that are clearly identifiable as part of the core Google experience and might be involved in integrity checks.
Crucial Note: The exact names of these system apps can vary slightly between Android versions and ROM builds. Take your time to carefully scan the list and identify the correct Google applications.
3. Verifying DenyList Configuration
After selecting the apps, close the Magisk app and reopen it. Re-enter the DenyList settings to ensure that the apps you selected are indeed checked. Sometimes, a reboot is necessary for changes to fully take effect.
Advanced Techniques and Troubleshooting for Persistent Issues
Even with careful configuration, some users may encounter persistent issues. This section delves into more advanced techniques and common troubleshooting steps that have been effective in resolving stubborn Google Wallet problems.
1. Magisk Hide (Deprecated but Relevant Concepts)
While the term “Magisk Hide” has been largely superseded by the DenyList, the underlying principle of hiding root remains. The DenyList effectively performs this function, but understanding that the goal is to prevent any direct or indirect detection of Magisk or root is key.
2. Module Management: The Importance of Cleanliness
The presence of certain Magisk modules can interfere with Google Wallet’s operation, even if they are not directly related to root hiding.
- Audit Your Modules: Review all installed Magisk modules. If you have modules that modify system partitions, security frameworks, or anything that could be perceived as a system alteration by Google’s checks, consider disabling or temporarily uninstalling them.
- Prioritize Essential Modules: Focus on modules that are necessary for your core functionality. If a module is not essential, disabling it can be a quick troubleshooting step.
- Test with Minimal Modules: The most effective way to isolate issues is to boot into Magisk with only the essential modules enabled. This allows you to determine if a specific module is the culprit.
3. Clearing App Data and Cache for Google Apps
Sometimes, the issue might be with cached data within Google Wallet or Google Play Services that have become corrupted due to previous root detection.
- Navigate to App Settings: Go to your device’s main Settings > Apps.
- Locate Google Wallet and Google Play Services: Select each of these apps.
- Clear Data and Cache: Find the “Storage” or “Storage & cache” option and tap “Clear cache” and then “Clear data” (or “Clear storage”).
- Force Stop: After clearing data, force stop the app.
- Reboot: Reboot your device.
After rebooting, open Google Wallet and attempt to add your card again.
4. Utilizing Play Integrity Fix Modules (Use with Caution)
The landscape of root detection is constantly evolving, with Google moving towards the Play Integrity API. Community developers have created Magisk modules designed to spoof or fix Play Integrity checks.
- Research Reputable Modules: Look for well-maintained modules specifically designed for Play Integrity fixes that are compatible with your Magisk version and Android version. The Magisk Module Repository is an excellent place to start your research.
- Installation: Install these modules through the Magisk app as you would any other.
- Testing: After installing and rebooting, thoroughly test Google Wallet.
Important Consideration: The effectiveness of Play Integrity fix modules can be transient. Google frequently updates its detection mechanisms, and a module that works today might be bypassed tomorrow. It’s crucial to stay updated with community discussions regarding the latest solutions.
5. Factory Reset and Gradual Reinstallation (The “Hard Reset” Approach)
In cases where other methods fail, a clean slate can be the most effective solution. As demonstrated in community feedback, a factory reset combined with a systematic reinstallation process can yield positive results.
- Perform a Full Factory Reset: This wipes all user data and settings from your device, returning it to its original state. Ensure you have a complete backup.
- Reinstall LineageOS 22.2 (if necessary): If you suspect ROM-level corruption, consider a clean flash of LineageOS 22.2.
- Install Magisk v29: Flash Magisk v29 using your custom recovery.
- Initial Configuration: Boot up, install the Magisk APK if needed, and immediately configure the DenyList for Google Wallet, Google Play Services, and Google Play Store.
- Install Google Wallet: Download and install the Google Wallet APK from a trusted source.
- Add Card: Attempt to add your credit or debit card.
- Gradually Reinstall Apps: If Google Wallet works, begin reinstalling your other applications one by one. After installing each app or a group of apps, test Google Wallet again. This methodical approach helps identify if a specific third-party app is interfering with the process.
Preserving eSIM: As noted in community reports, it is possible to preserve your eSIM during a factory reset on some devices. This typically involves a specific option within the reset process or through certain ADB commands. Refer to your device manufacturer’s guidelines or specific LineageOS instructions for eSIM preservation.
Case Study: Real-World Success with Magisk v29 and LineageOS 22.2
Our analysis of user experiences, including the detailed accounts shared by community members, highlights specific strategies that have proven highly successful. One particularly compelling scenario involved a user on a Pixel 6 running LineageOS 22.2 with Magisk v29. After a factory reset, they meticulously reinstalled their applications and Magisk modules. The critical step involved ensuring that Google Wallet, Google Play Services, and Google Play Store were all added to Magisk’s DenyList. By paying close attention to the exclusion of these key Google components, the user was able to successfully add and utilize their credit card within Google Wallet.
Another detailed report described a similar success, emphasizing the importance of the DenyList configuration. The user noted that even with Wallet not appearing checked in certain views, the underlying process worked because the critical Google services were correctly excluded from Magisk’s root exposure. This reinforces our emphasis on targeting not just Google Wallet, but its entire supporting ecosystem within the DenyList. The ability to perform a factory reset and preserve an eSIM, as reported, further simplifies the recovery process for users who wish to start fresh without losing their mobile service. The patience required to work through potential cooldown periods imposed by Google after repeated attempts was also a key takeaway, underscoring the need for methodical, patient troubleshooting.
Conclusion: Achieving and Maintaining Google Wallet Functionality
The journey to seamless Google Wallet functionality on custom ROMs, particularly with the powerful combination of LineageOS 22.2 and Magisk v29, is achievable through careful planning, precise configuration, and a methodical approach to troubleshooting. By understanding the underlying security mechanisms employed by Google and leveraging Magisk’s advanced features like the DenyList, users can effectively bypass root detection and enjoy the full convenience of their digital wallet.
We have provided a comprehensive guide, from initial setup and prerequisites to advanced troubleshooting and real-world success strategies. Remember that the Android ecosystem is dynamic, and occasional updates from Google or Magisk may necessitate re-evaluation of your setup. Staying informed through community resources like the Magisk Module Repository is crucial for staying ahead of any changes. With the right knowledge and careful execution, your LineageOS 22.2 device powered by Magisk v29 can once again become a secure and convenient platform for all your mobile payment needs. We are confident that the detailed steps and insights provided here will empower you to achieve and maintain robust Google Wallet support.